
(All photos of the process were taken by me but shoutout to my Chief (a.k.a my husband <3) for capturing photos of me wearing my top. Love you sweetheart!)

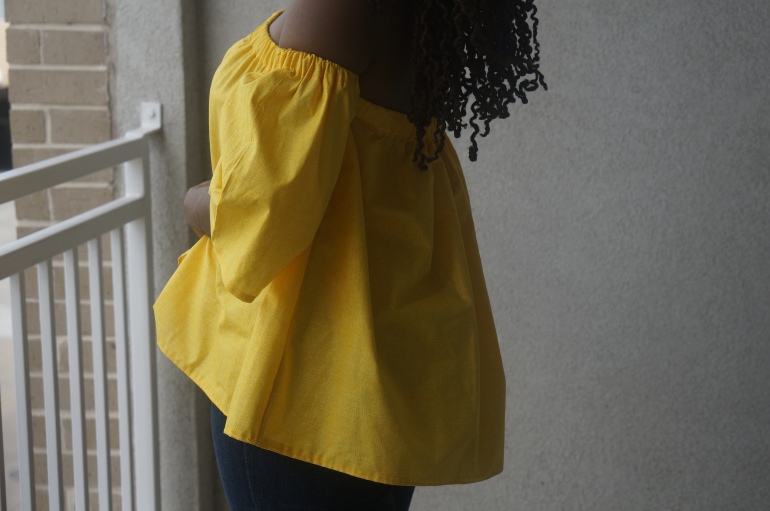
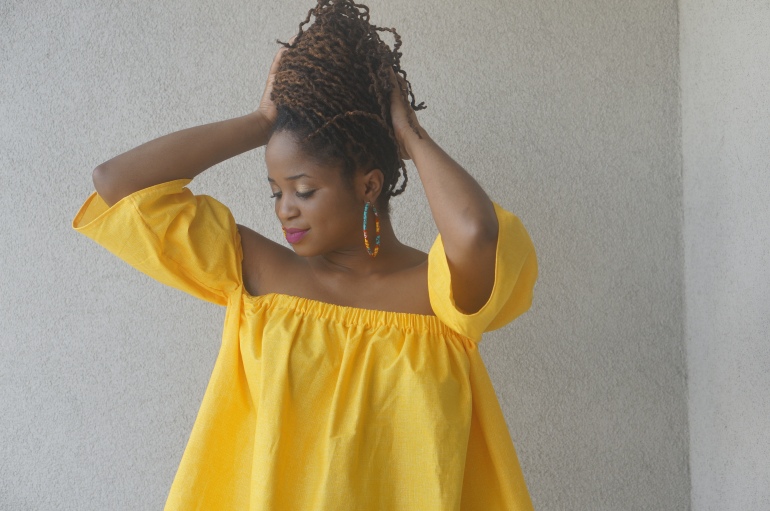
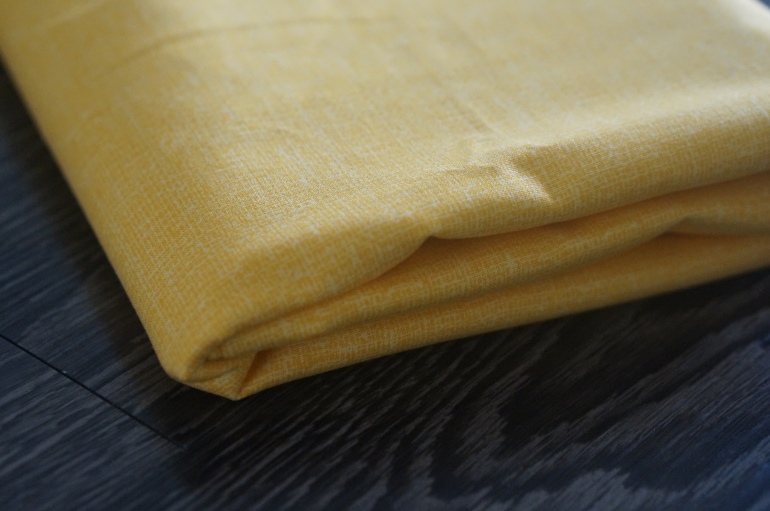
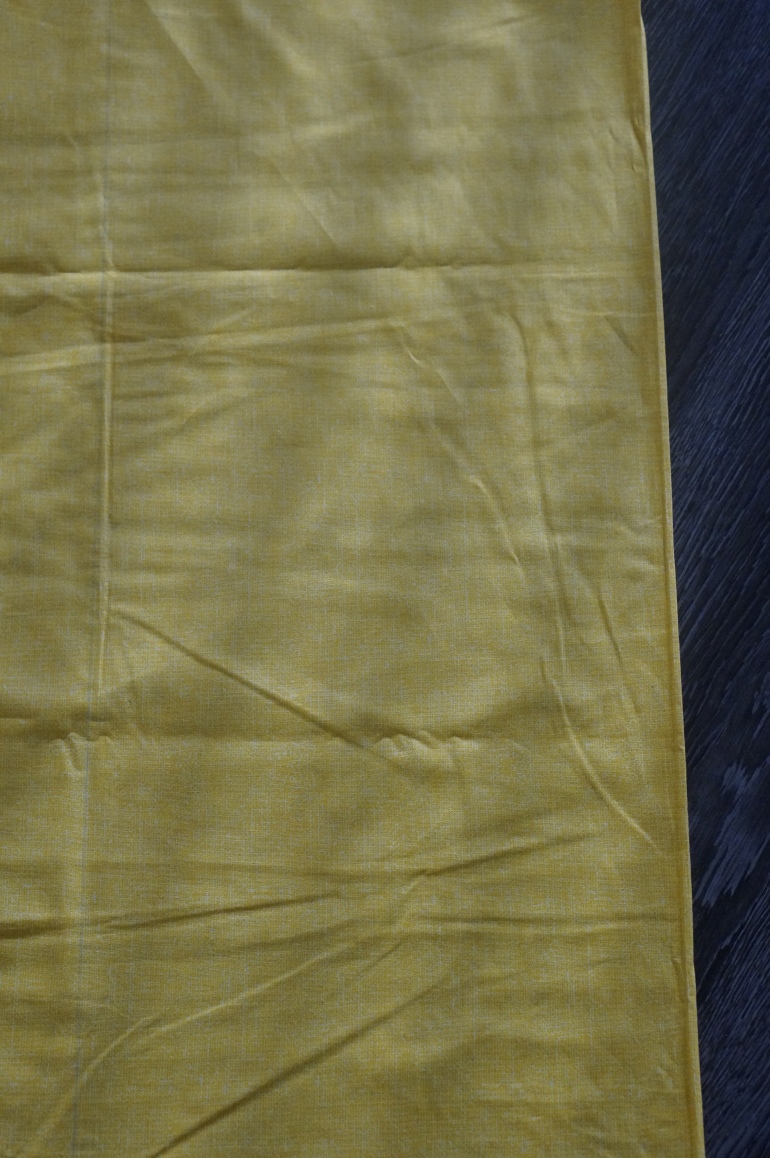
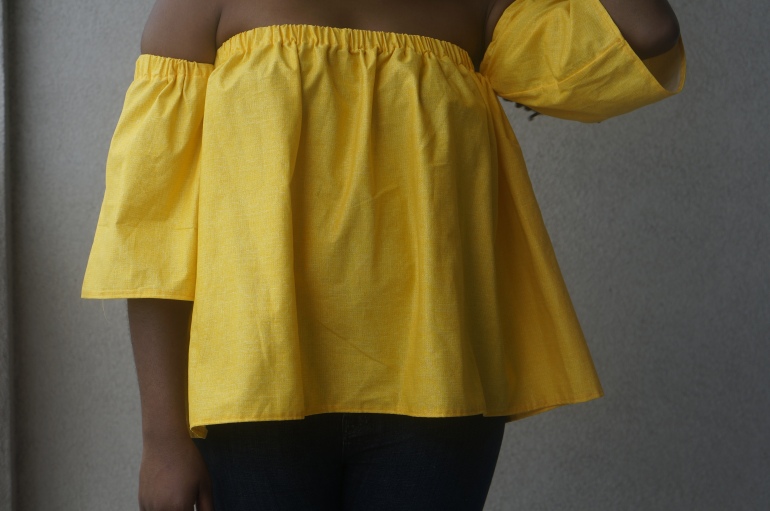
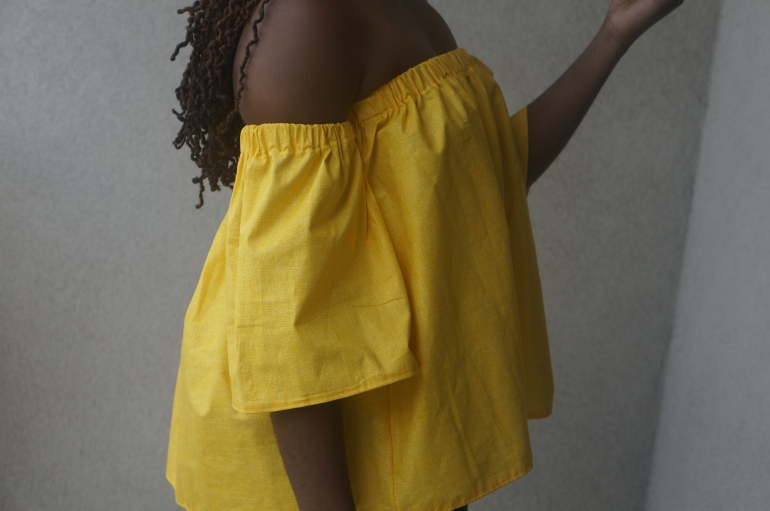
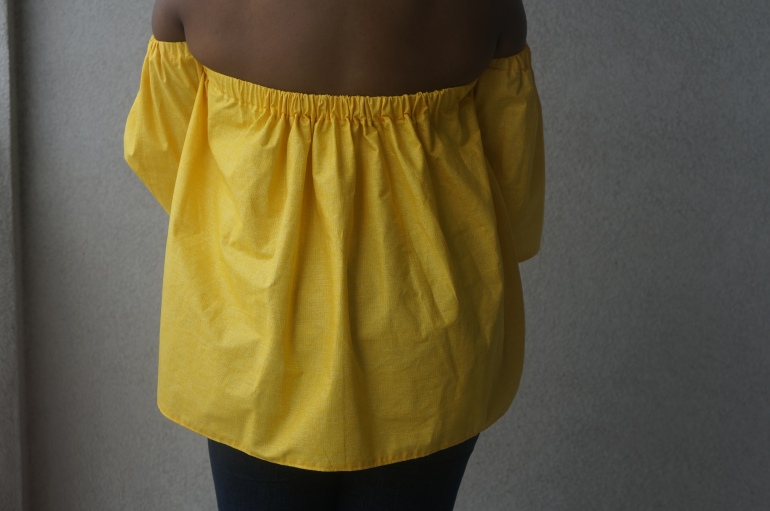
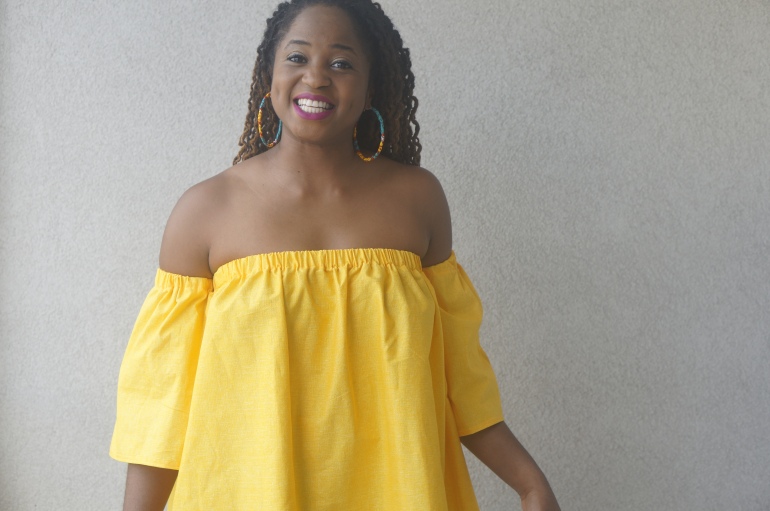
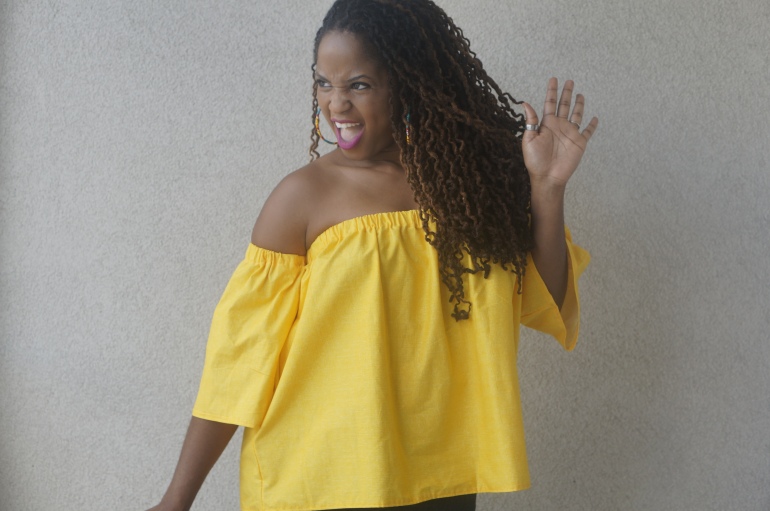
Earlier this week, I was excited to properly break in my machine and wanted to create this off the shoulder top with my yellow cotton material I shared in my previous post. This off the shoulder trend is something I have been adoring this summer season and in need of in my closet. Plus, I felt I needed more summer tops that weren’t too dressy, but also not a plain t-shirt. This top is cute, fun, and produces flattering suntan lines.
Even though this was my first project on a sewing machine, I wanted to be diligent about being neat and clean with this design. I wanted to make sure all raw edges were tucked away and out of sight. Although this design seems complicated, it is actually pretty simple and definitely a beginners project. I broke it up into two days, but knowing what I know now, I know this is something that can be completed within an hour (a couple of hours at the most). There were few measurements taken and a lot more straight stitching done to produce this beautiful top so here is what I did….

Materials/Supplies I Used
- 1.5 to 2 yards of cotton fabric
- 1 inch elastic band
- All purpose thread
- Scissors
- Tailors chalk
- Yard stick ruler
- Measuring tape
- Safety pins
Measurements
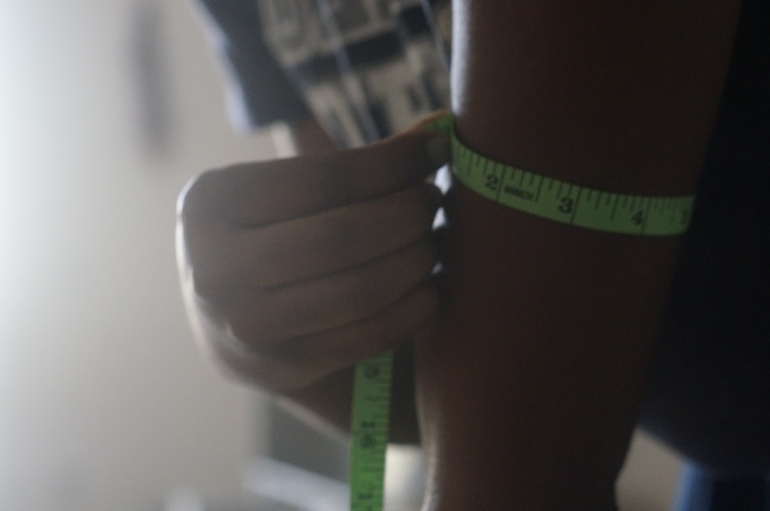
Using the measuring tape, I took only five measurements:
- Around my chest where I wanted the body of my top to start at.
- The length of where I wanted the top to start and end on my body.
- Around my arm where I wanted my sleeves to start.
- The length where I wanted to start and end the sleeves.
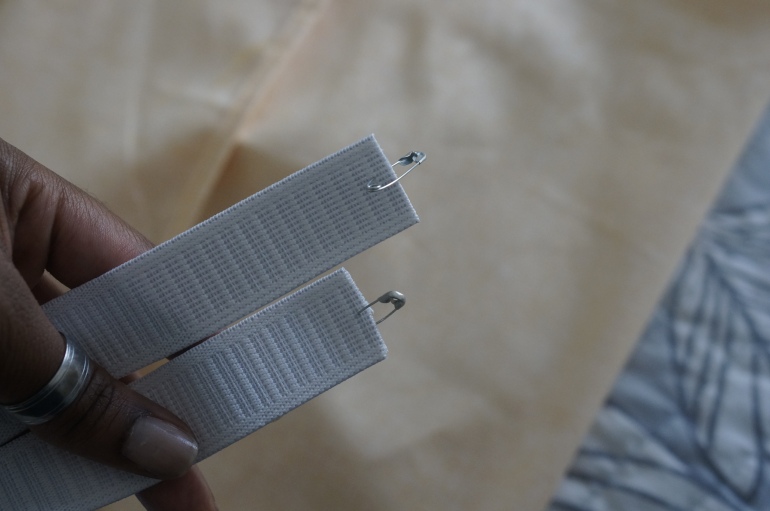
- The length of the elastic band around the chest and length around the arm where I wanted the top and sleeves to start. I stretched the elastic around my chest until it was a comfortable snug fit, then cut. I did the same for one arm, cut the piece and cut another piece of the same size for my other arm.
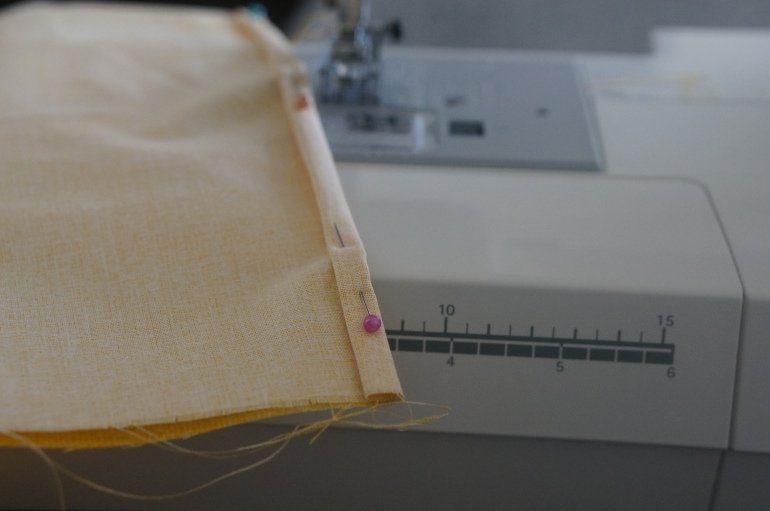
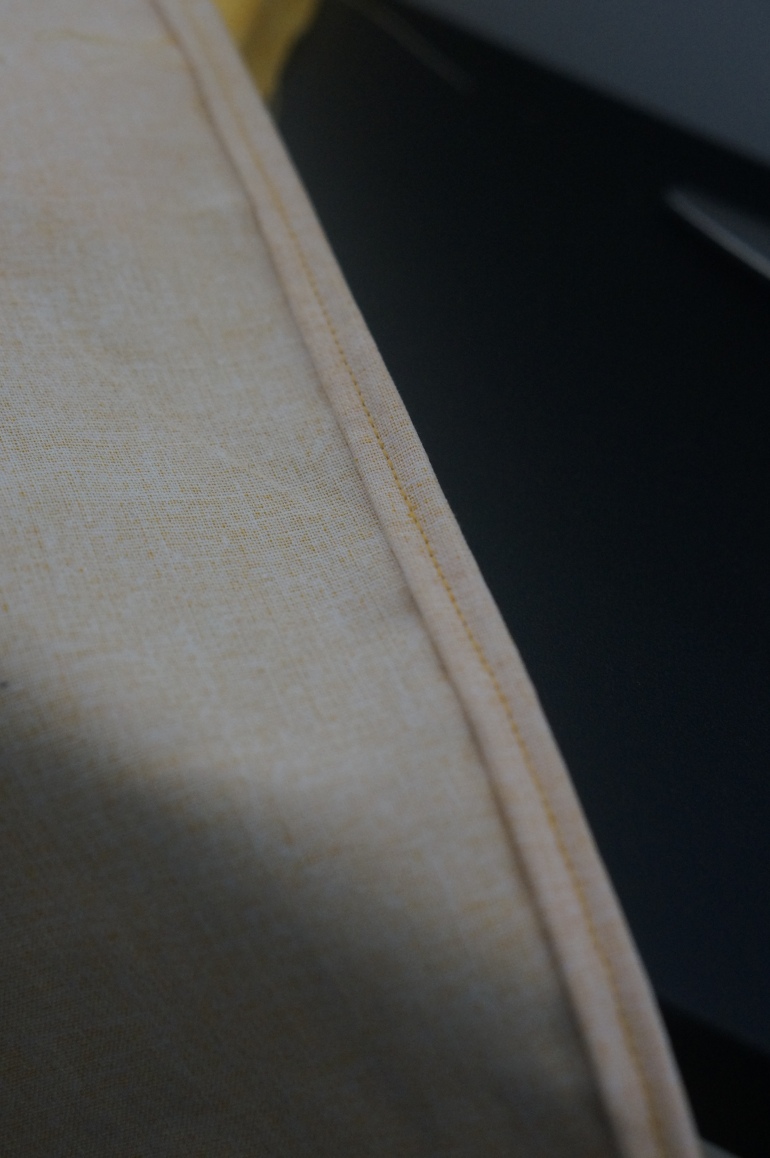
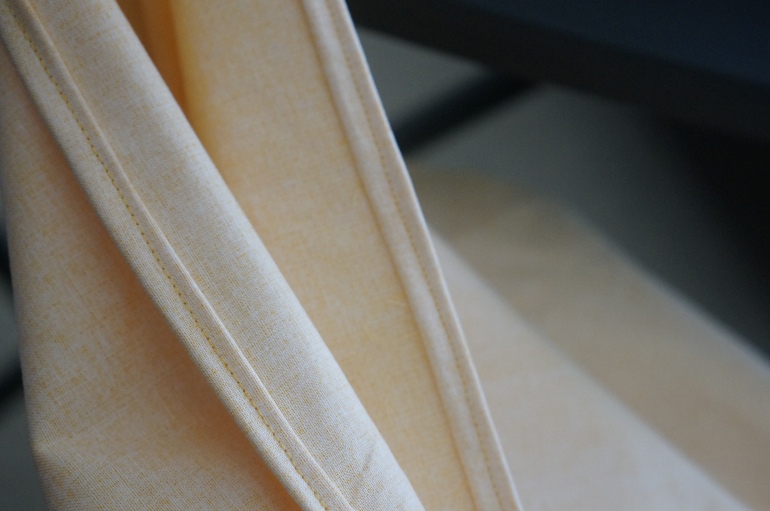
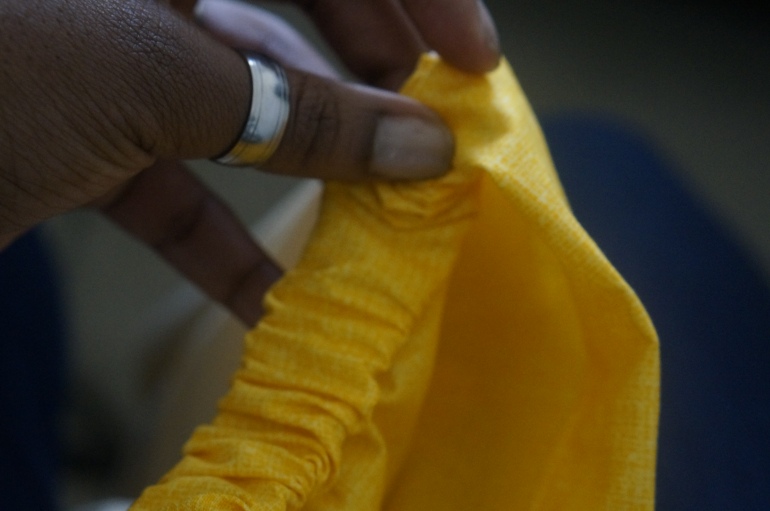
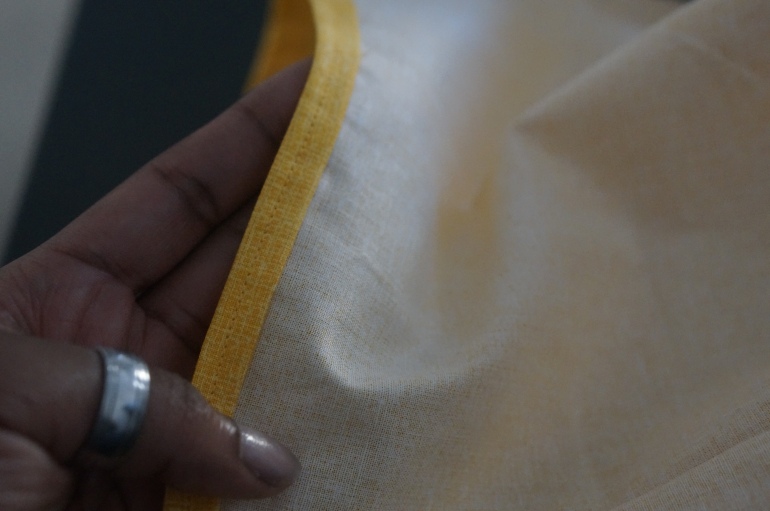
My seam allowance for the top and bottom of each piece was 2.5 inches accommodate the 1 inch elastic band and rolled hemming. A rolled hem is basically folding the raw edges once and then folding again and then pinning down to be sewed. I made each of my folds a half inch. This made for a really clean finish on the inside of my garment.
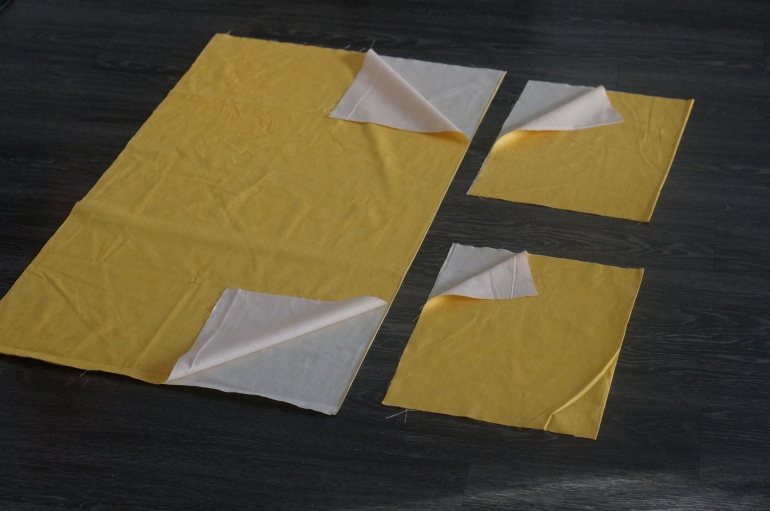
I worked on my material that was completely folded in half. I marked the measurements on my fabric with my yard stick ruler and tailors chalk, making sure the length of my measurements are taken against the fold, then used my scissors to cut it out. This left me with three rectangles: one for the body and two identical pieces for the arms.
 I sewed the side openings of each piece together (wrong sides together) using a rolled hem, creating three circular pieces.
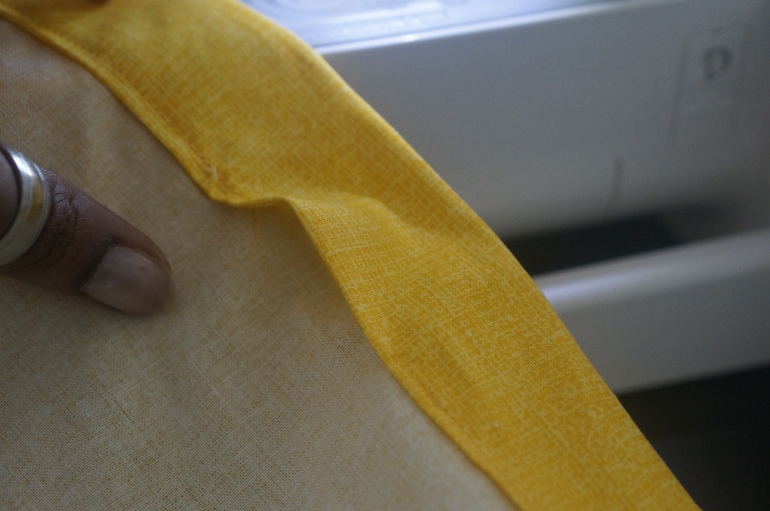
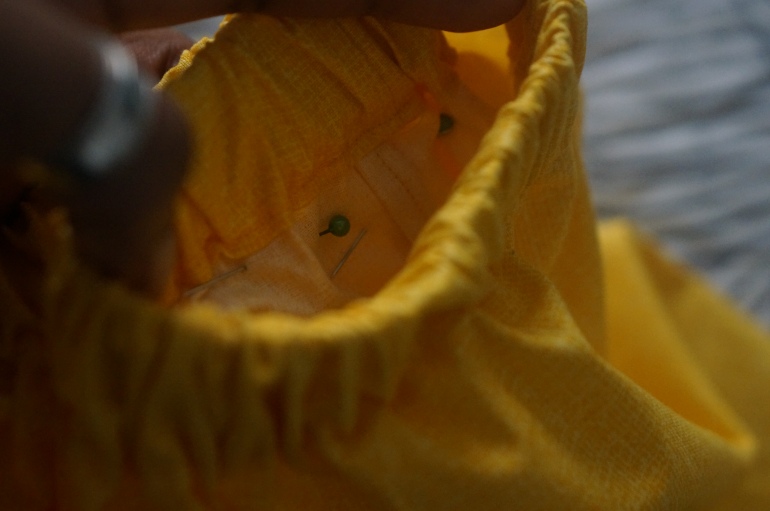
Then, I did a rolled hem at the top of the body piece, making the first roll a half inch to tuck away the raw edges and the second roll a little over an inch to allot room for the elastic band.

Then I sewed all around the perimeter with a straight stitch, leaving at least a 2 inch open space to feed the elastic through.
I repeated this step for both sleeve pieces.
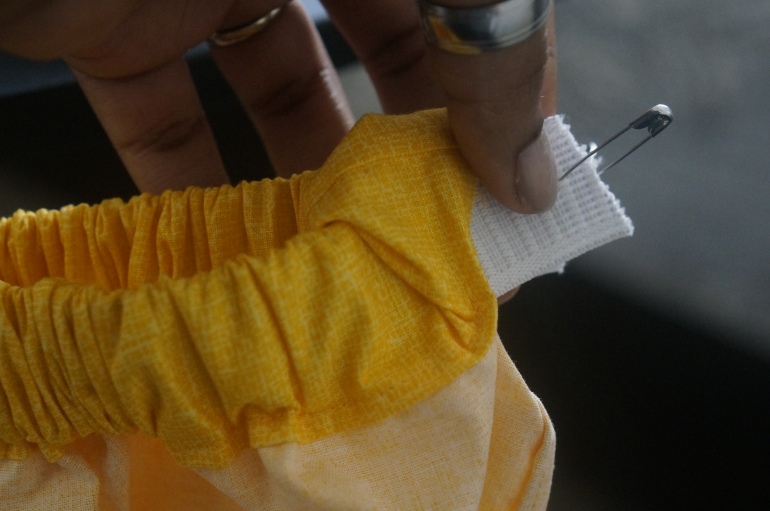
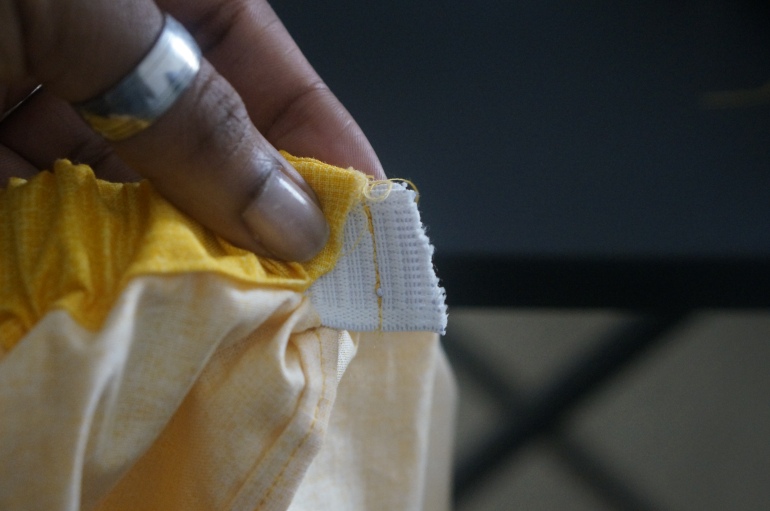
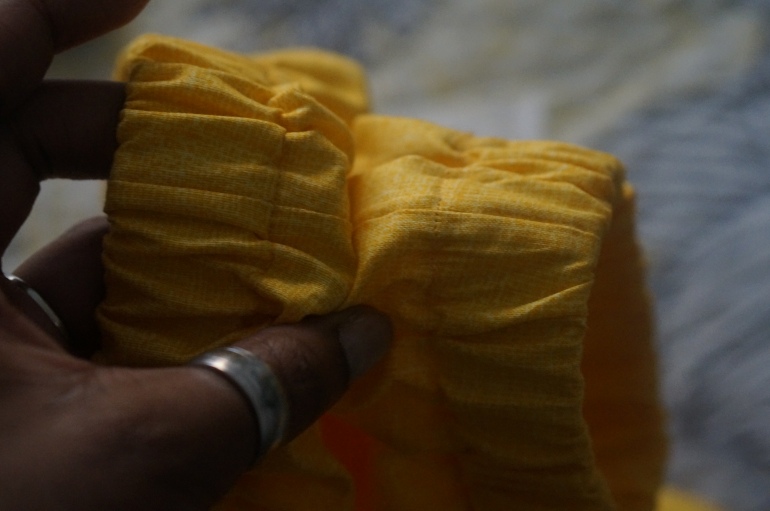
Once that was done, I took safety pins and pinned through both ends of my elastic piece for the body to make it easier to feed the elastic through the large hem I made and to not lose the other end.
Once I got both ends to meet at the opening, I took both ends and sewed it down with a straight stitch. I tucked the ends into the opening and closed the opening with a straight stitch to complete the hem.
I repeated this step for both sleeves.
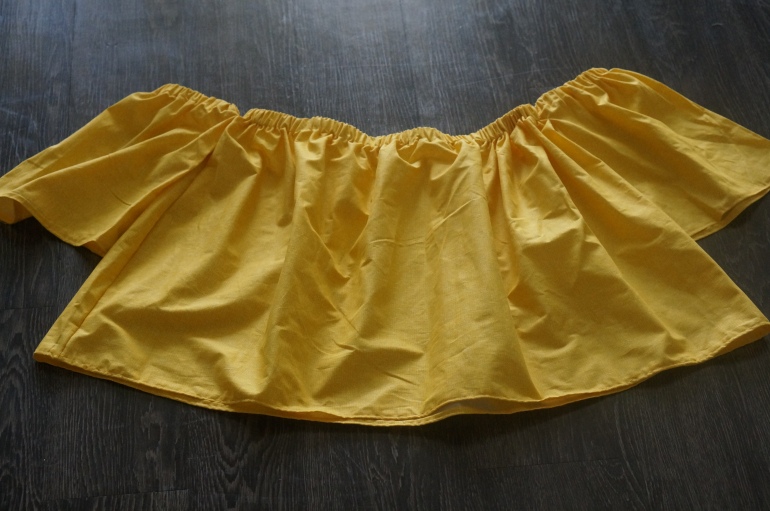
Next, I did a rolled hem to hem the bottoms of all three pieces.
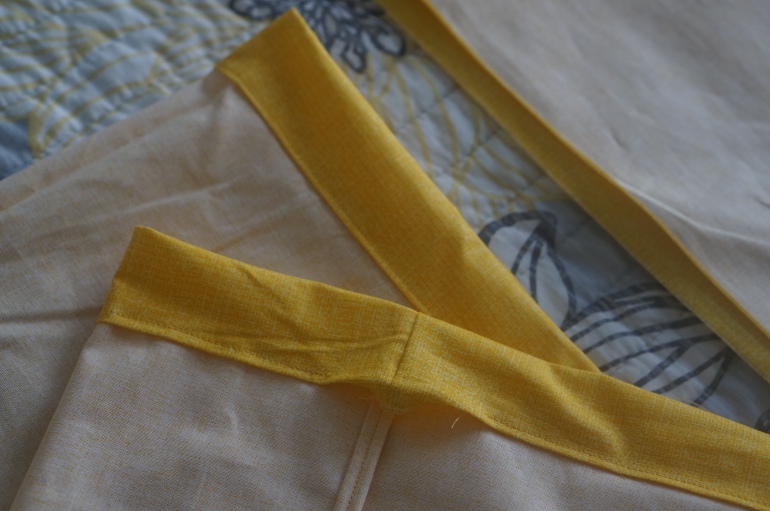
 Lastly, I lined up the top of the body piece and its side seam with that of the sleeves’ on each side and pinned them together. I sewed about 2 inches horizontally with a straight stitch just under the elastic to attach the arm pieces to the body.
Then I was done! YAY!
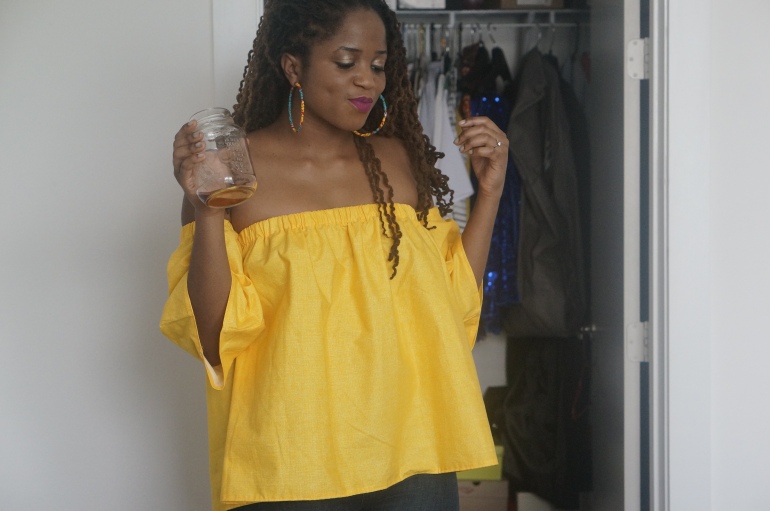
I absolutely loved how this turned out and shocked myself with what I was able to do after years of not touching a sewing machine! It’s not only in my FAVORITE color but it’s a garment I will be proud of years from now. I got some work to do on sewing straighter but I am still very pleased with the finished product. I can’t wait to try this again on other fabrics and colors. But for right now, let’s just indulge in these pictures of me feeling myself and being a fake model!

Thanks for stopping by. Please Like/Share/Comment/Subscribe! Until next time loves!
Love,
Christine

Cuuuuuute😍
LikeLike
Aww thank you so much Sadie! ❤
LikeLike
I love love LOVE ❤️ it. Great job Chrissy Chris!!!
LikeLike
Aww thank you Viv! Love you!
LikeLike
Standing ovation! You are a natural! Your ability to pic up on some of the hardest parts of sewing (hems, adding elastic, etc) is so impressive! Rock on, baby girl!
LikeLike
Thank you!! I was so pleased with this turn out and the response from even people at the store asking me where I bought it and being pleasantly surprised that I made it myself. I definitely have to make this in other fabrics and lengths.
LikeLike
Yo….this is dope! So NEAT too! And your pics were POPPIN! Go Umeh! 🙌🏾🙌🏾🙌🏾👏🏾👏🏾👏🏾👏🏾
LikeLiked by 1 person
Thanks Tiff!! I really appreciate it. I have another shirt I made coming soon.
LikeLike