
Sewing The Pattern & Fabric Choice
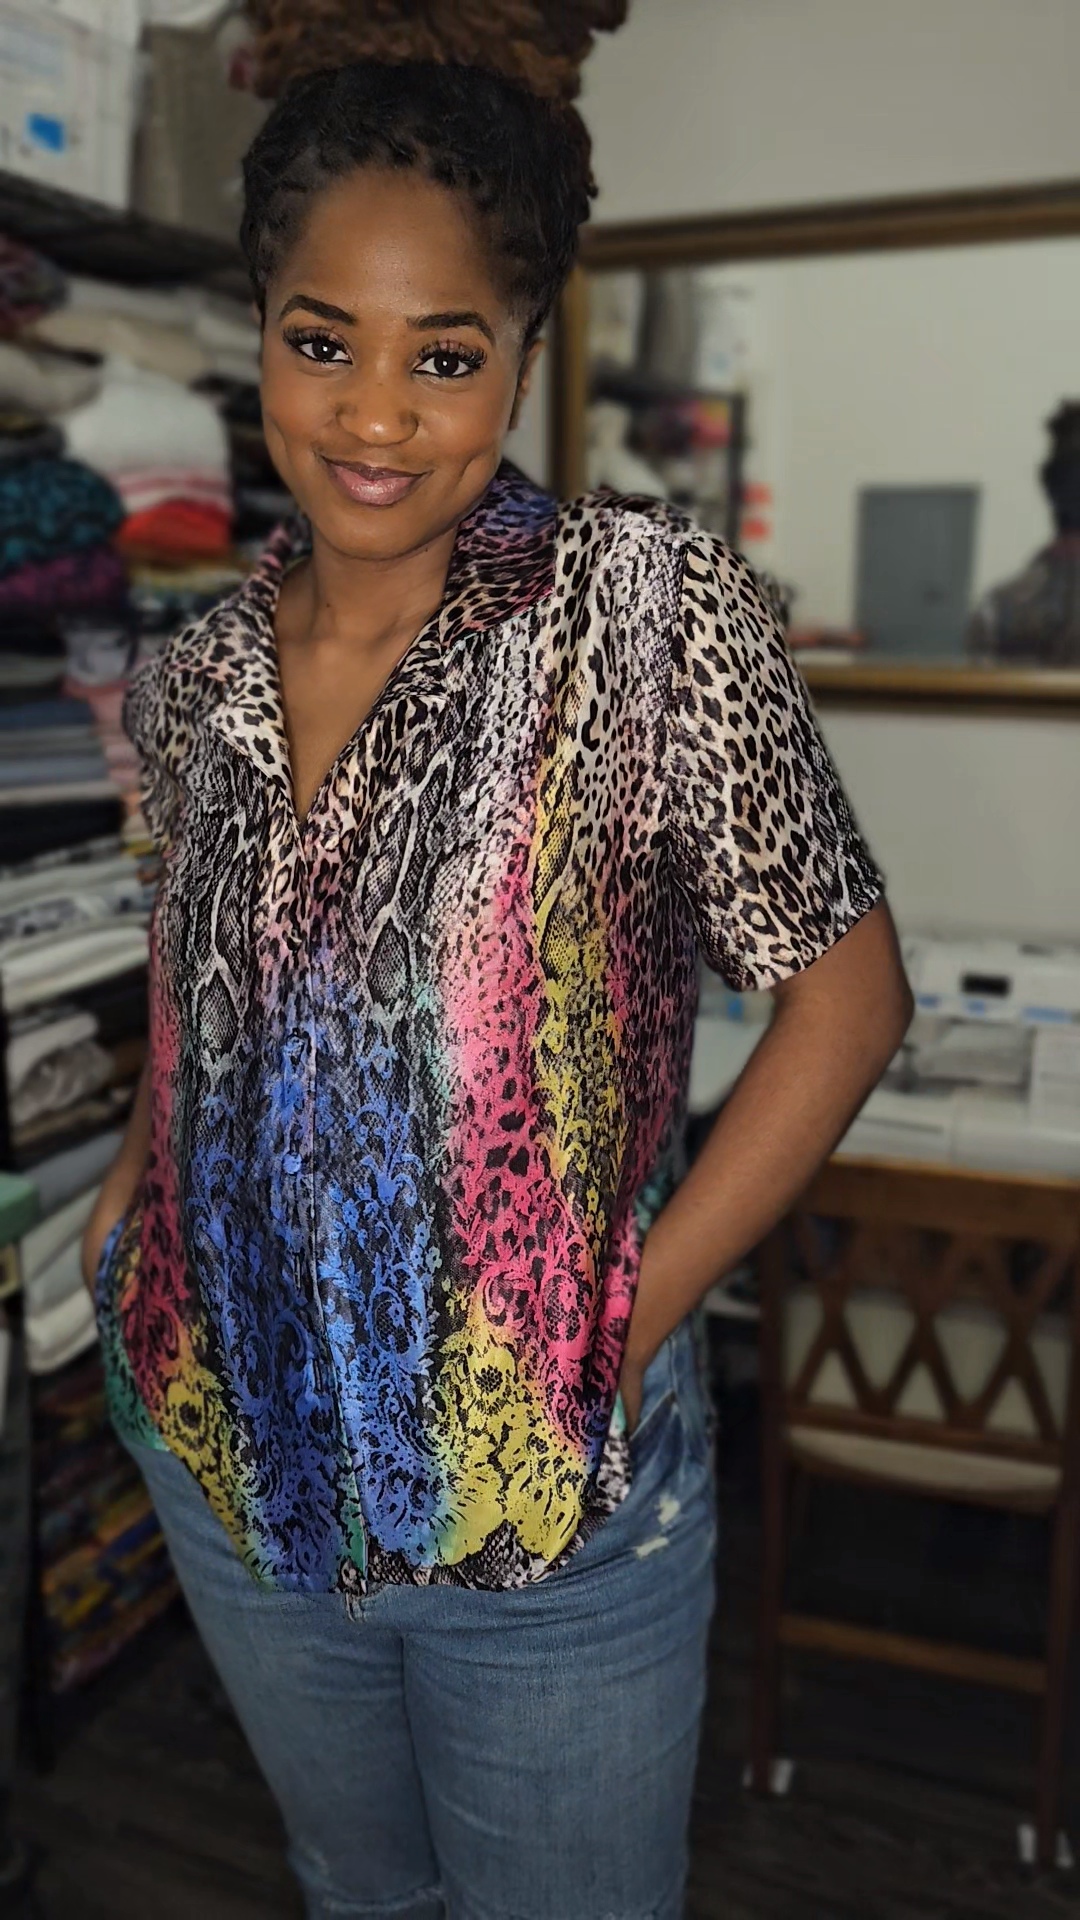
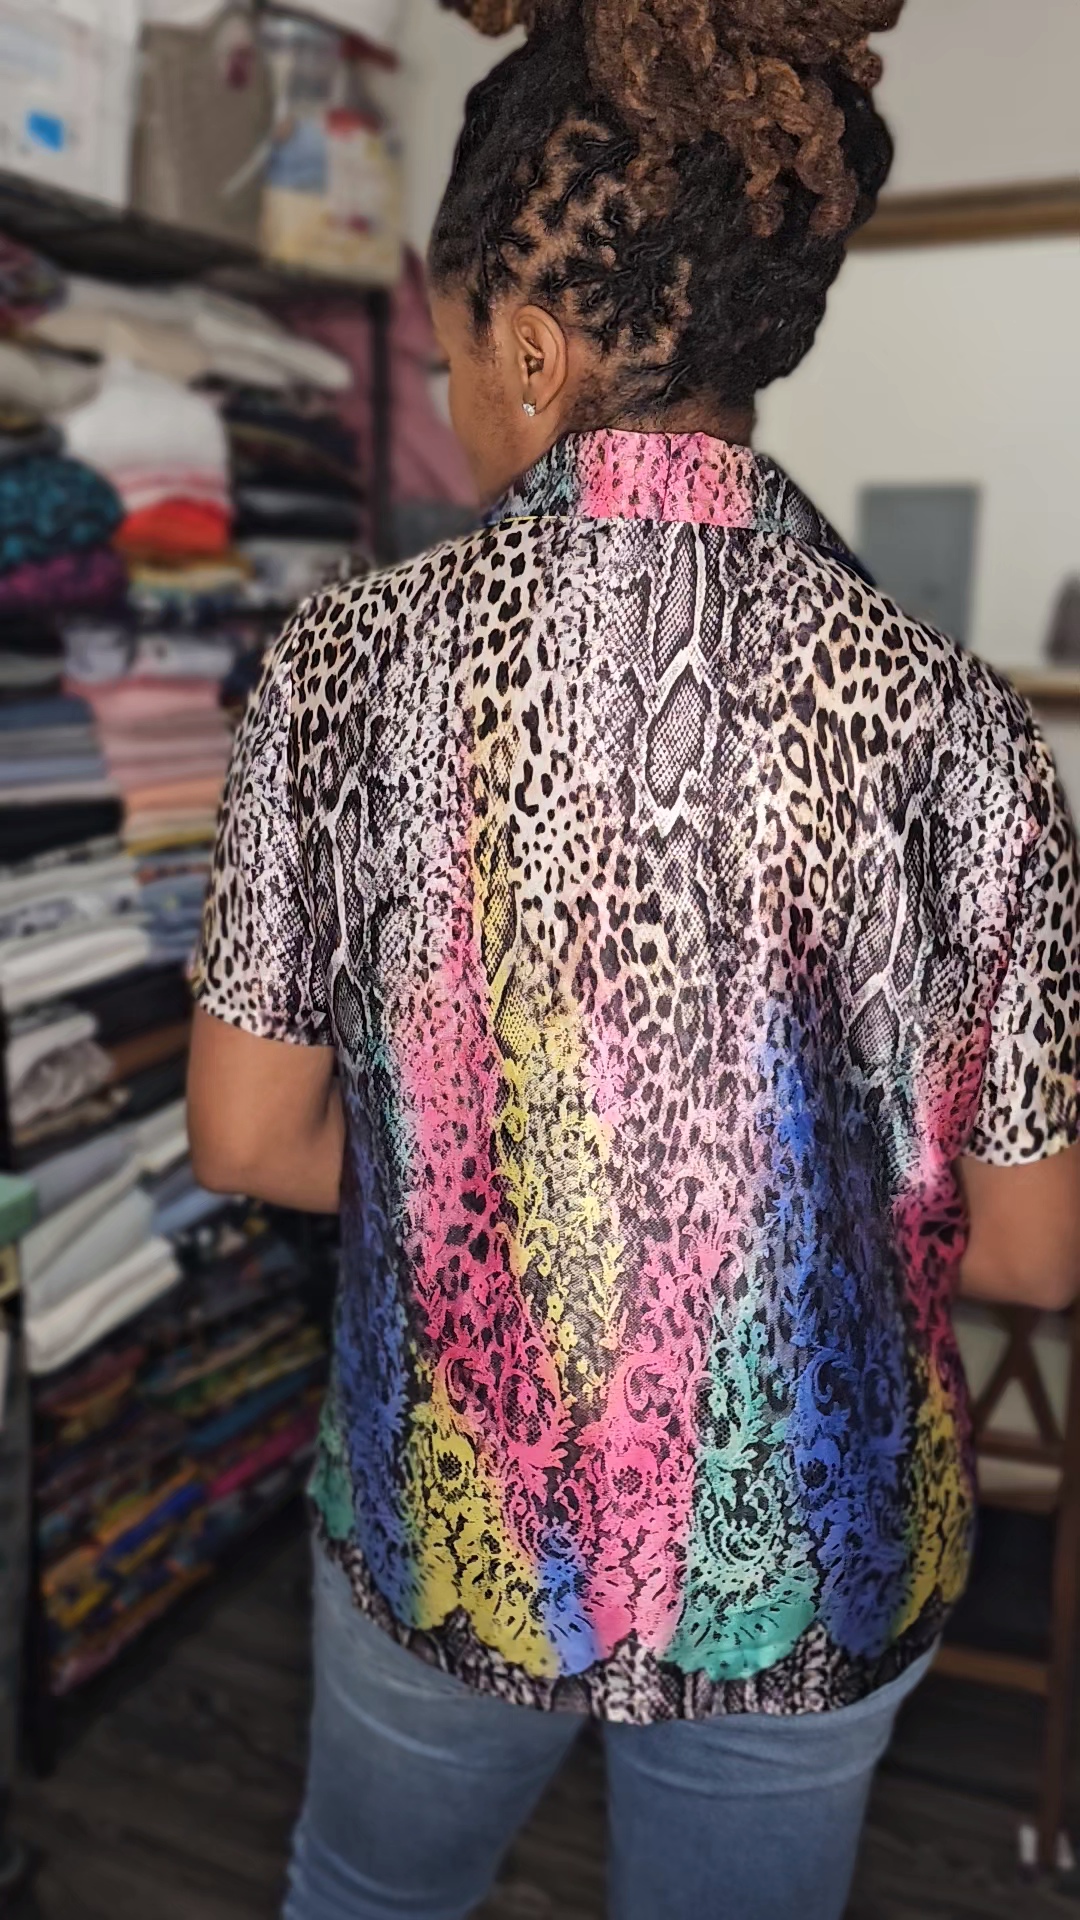
A couple of years ago, I purchased this silky multicolored animal print fabric from my local fabric shop Wherehouse Fabrics and thought it would make for such a cute button up. It was a directional pattern with a multi colored border so I had to be extra careful with how I laid out and cut out my pattern pieces so that the border showed up at the bottom of my shirt.


I went back and forth on whether or not to make a traditional button up with a collar or a notched collar and finally settled on the notched collar style. I used Butterick 6296 in view A for my pattern. I was nervous about going this route because of how silky and lightweight the fabric was. I just didn’t think the collar would lay flat. I went for it anyway and used a light weight fusible interfacing to help add a bit more structure to the collar to help it stay in place once installed. I should have used a much lighter interfacing as the one I used stiffened the collar and center front of the shirt more than I would have liked and took away from the natural drape and flow of the fabric. It’s personally not a big deal to me but certainly a lesson learned for the next time I work with a fabric as lightweight as this one.
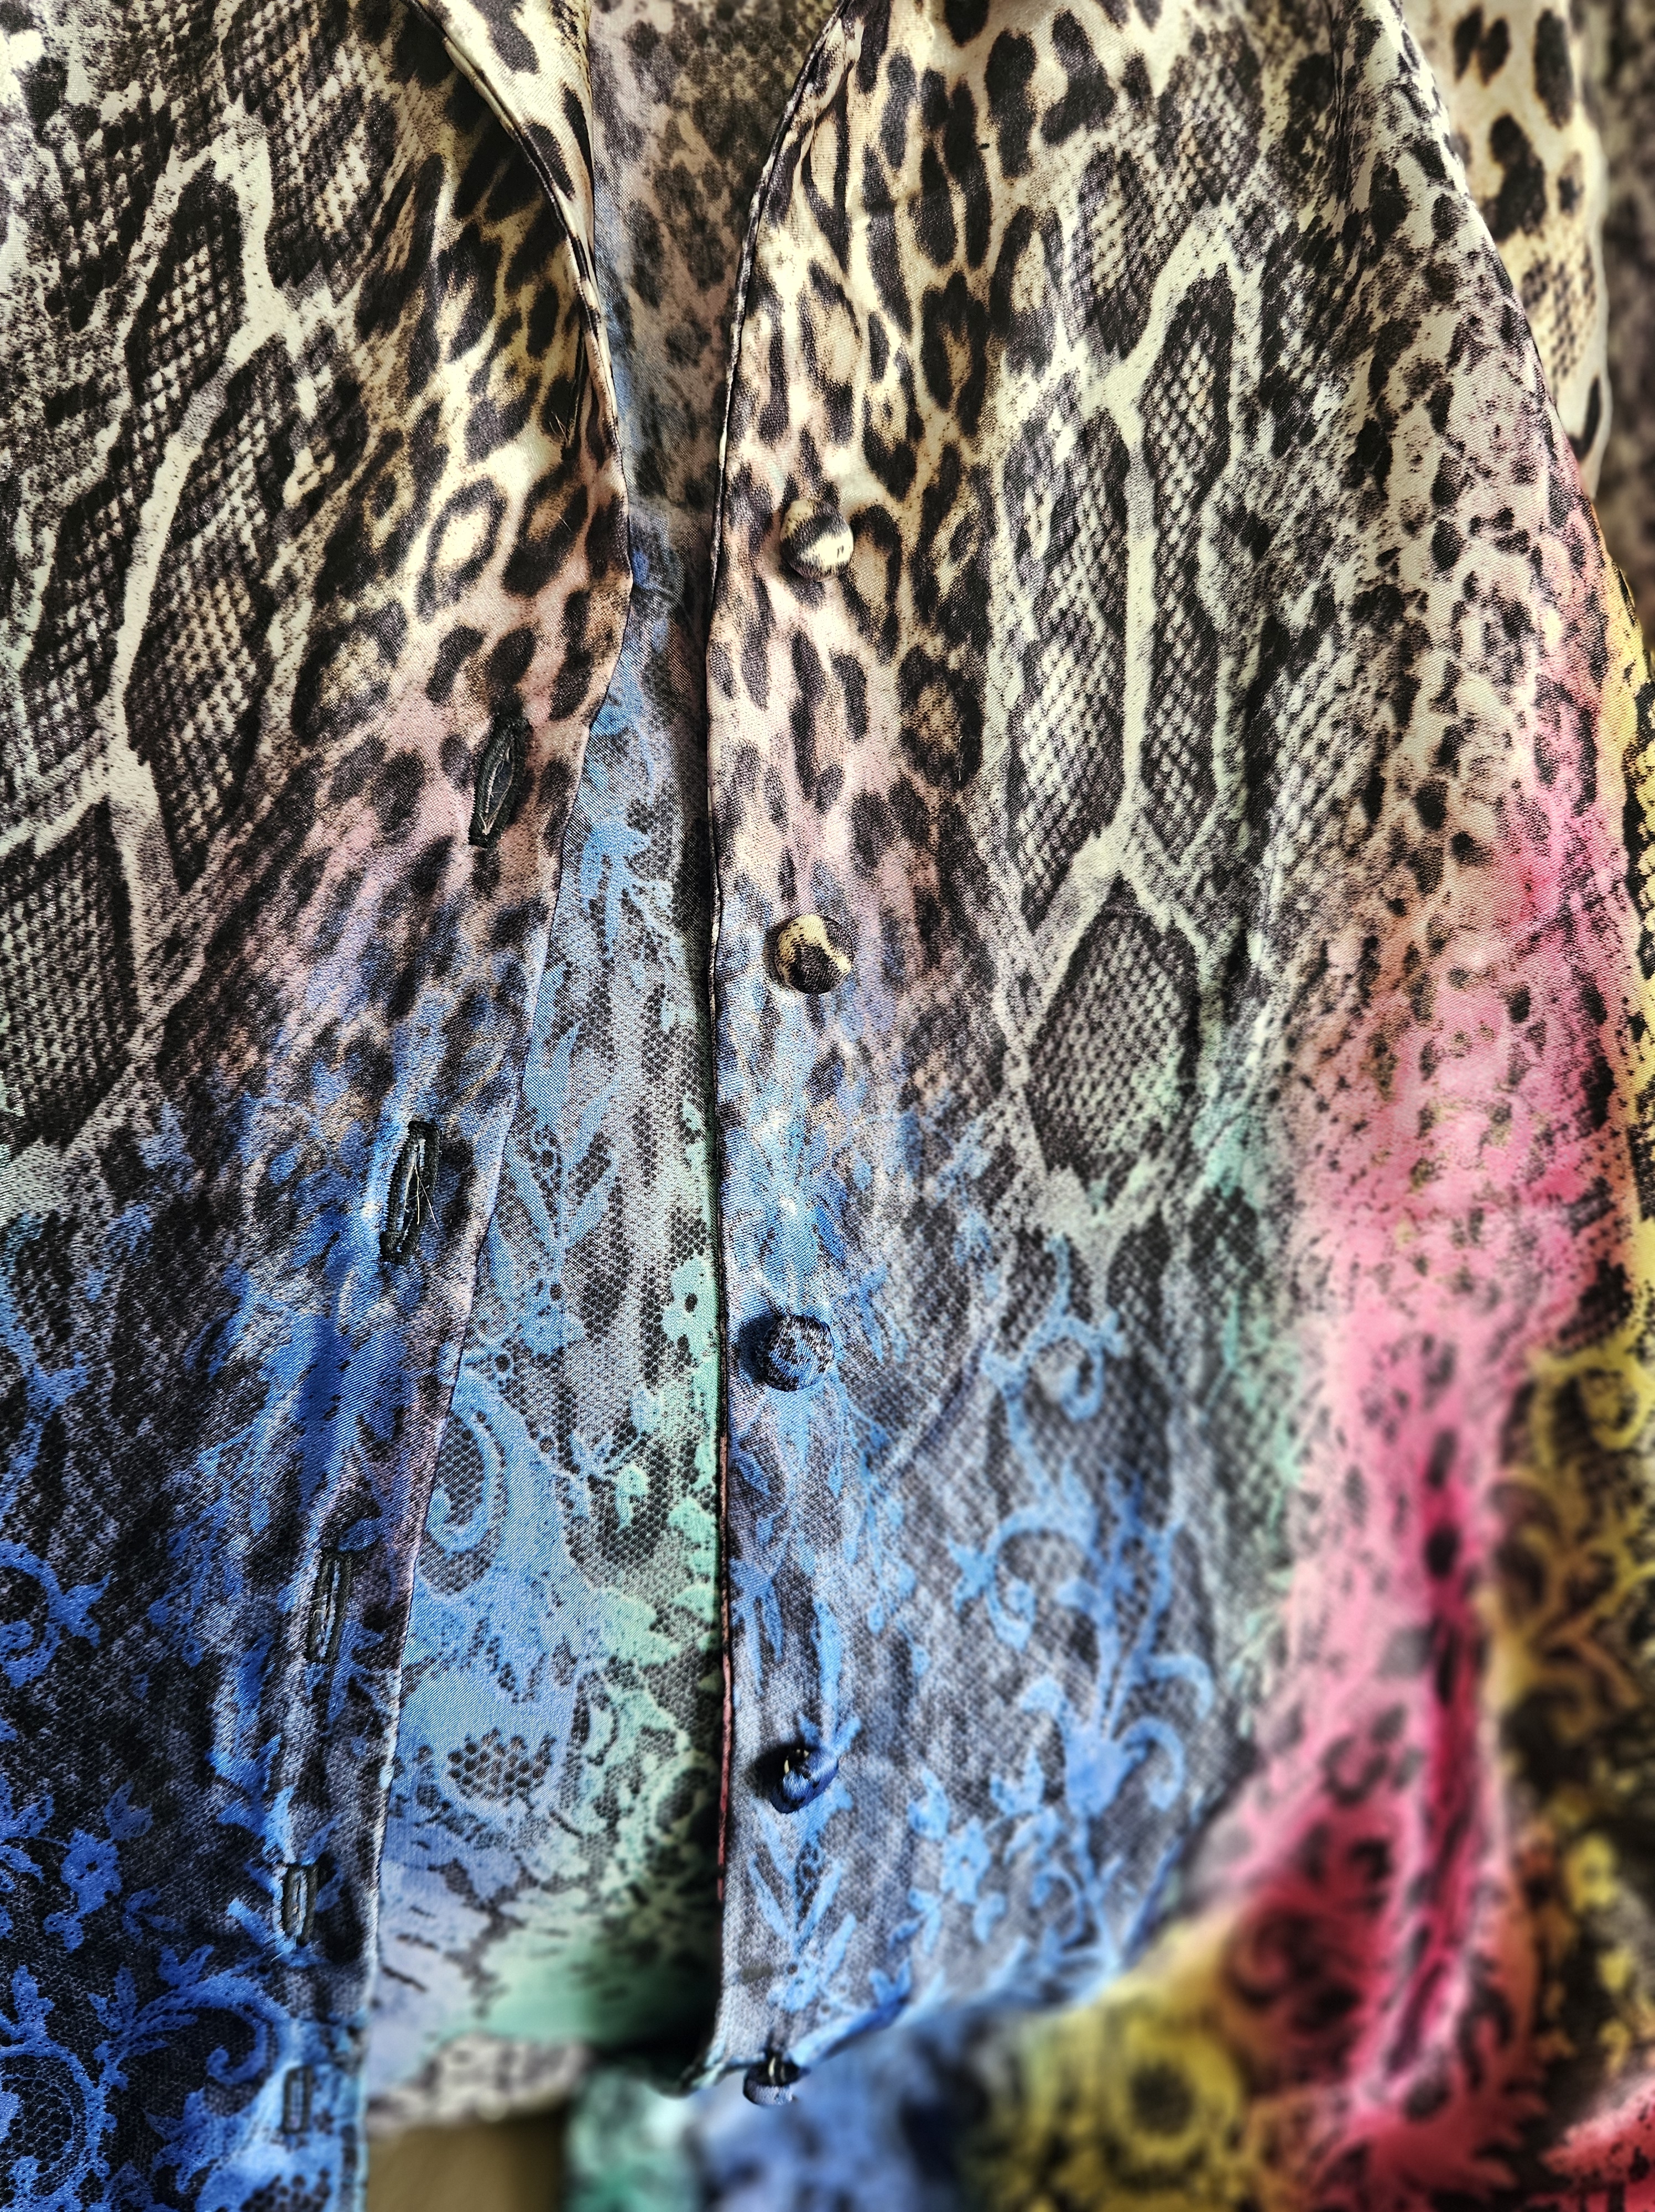
For the buttons, I originally purchased these super cute pearl buttons from Walmart that I thought would pop against the shirt but when it came time to install buttons I wasn’t feeling it too much. So I opted to use covered buttons. I never made covered buttons before this so I was excited to give it a try. It was surprisingly really easy to put together. I marked where on my top I needed a button and strategically cut out pieces of fabric that matched the color of the fabric in that area of the shirt. So the buttons blended into the shirt which I liked since the fabric was already busy enough.
Pattern Size & Modifications
I sewed up a size 14 straight. When I make the pattern again, I would most likely do a broad back adjustment as I found the shirt a bit tight in the upper back area when folding my arms. My fabric had zero stretch in it, but if it did, I am sure this wouldn’t be much of a problem.

For modifications, I decided to square out the notched collar lapels. This pattern is meant for a pajama set with rounded lapels but I wanted my top to have squared edges. So I extended out the top flat edge of the lapel and extended up the side flat edge of the lapel until both sides met at a point. I believe it extended each side about 3/4 of an inch. I did the same for the collar.
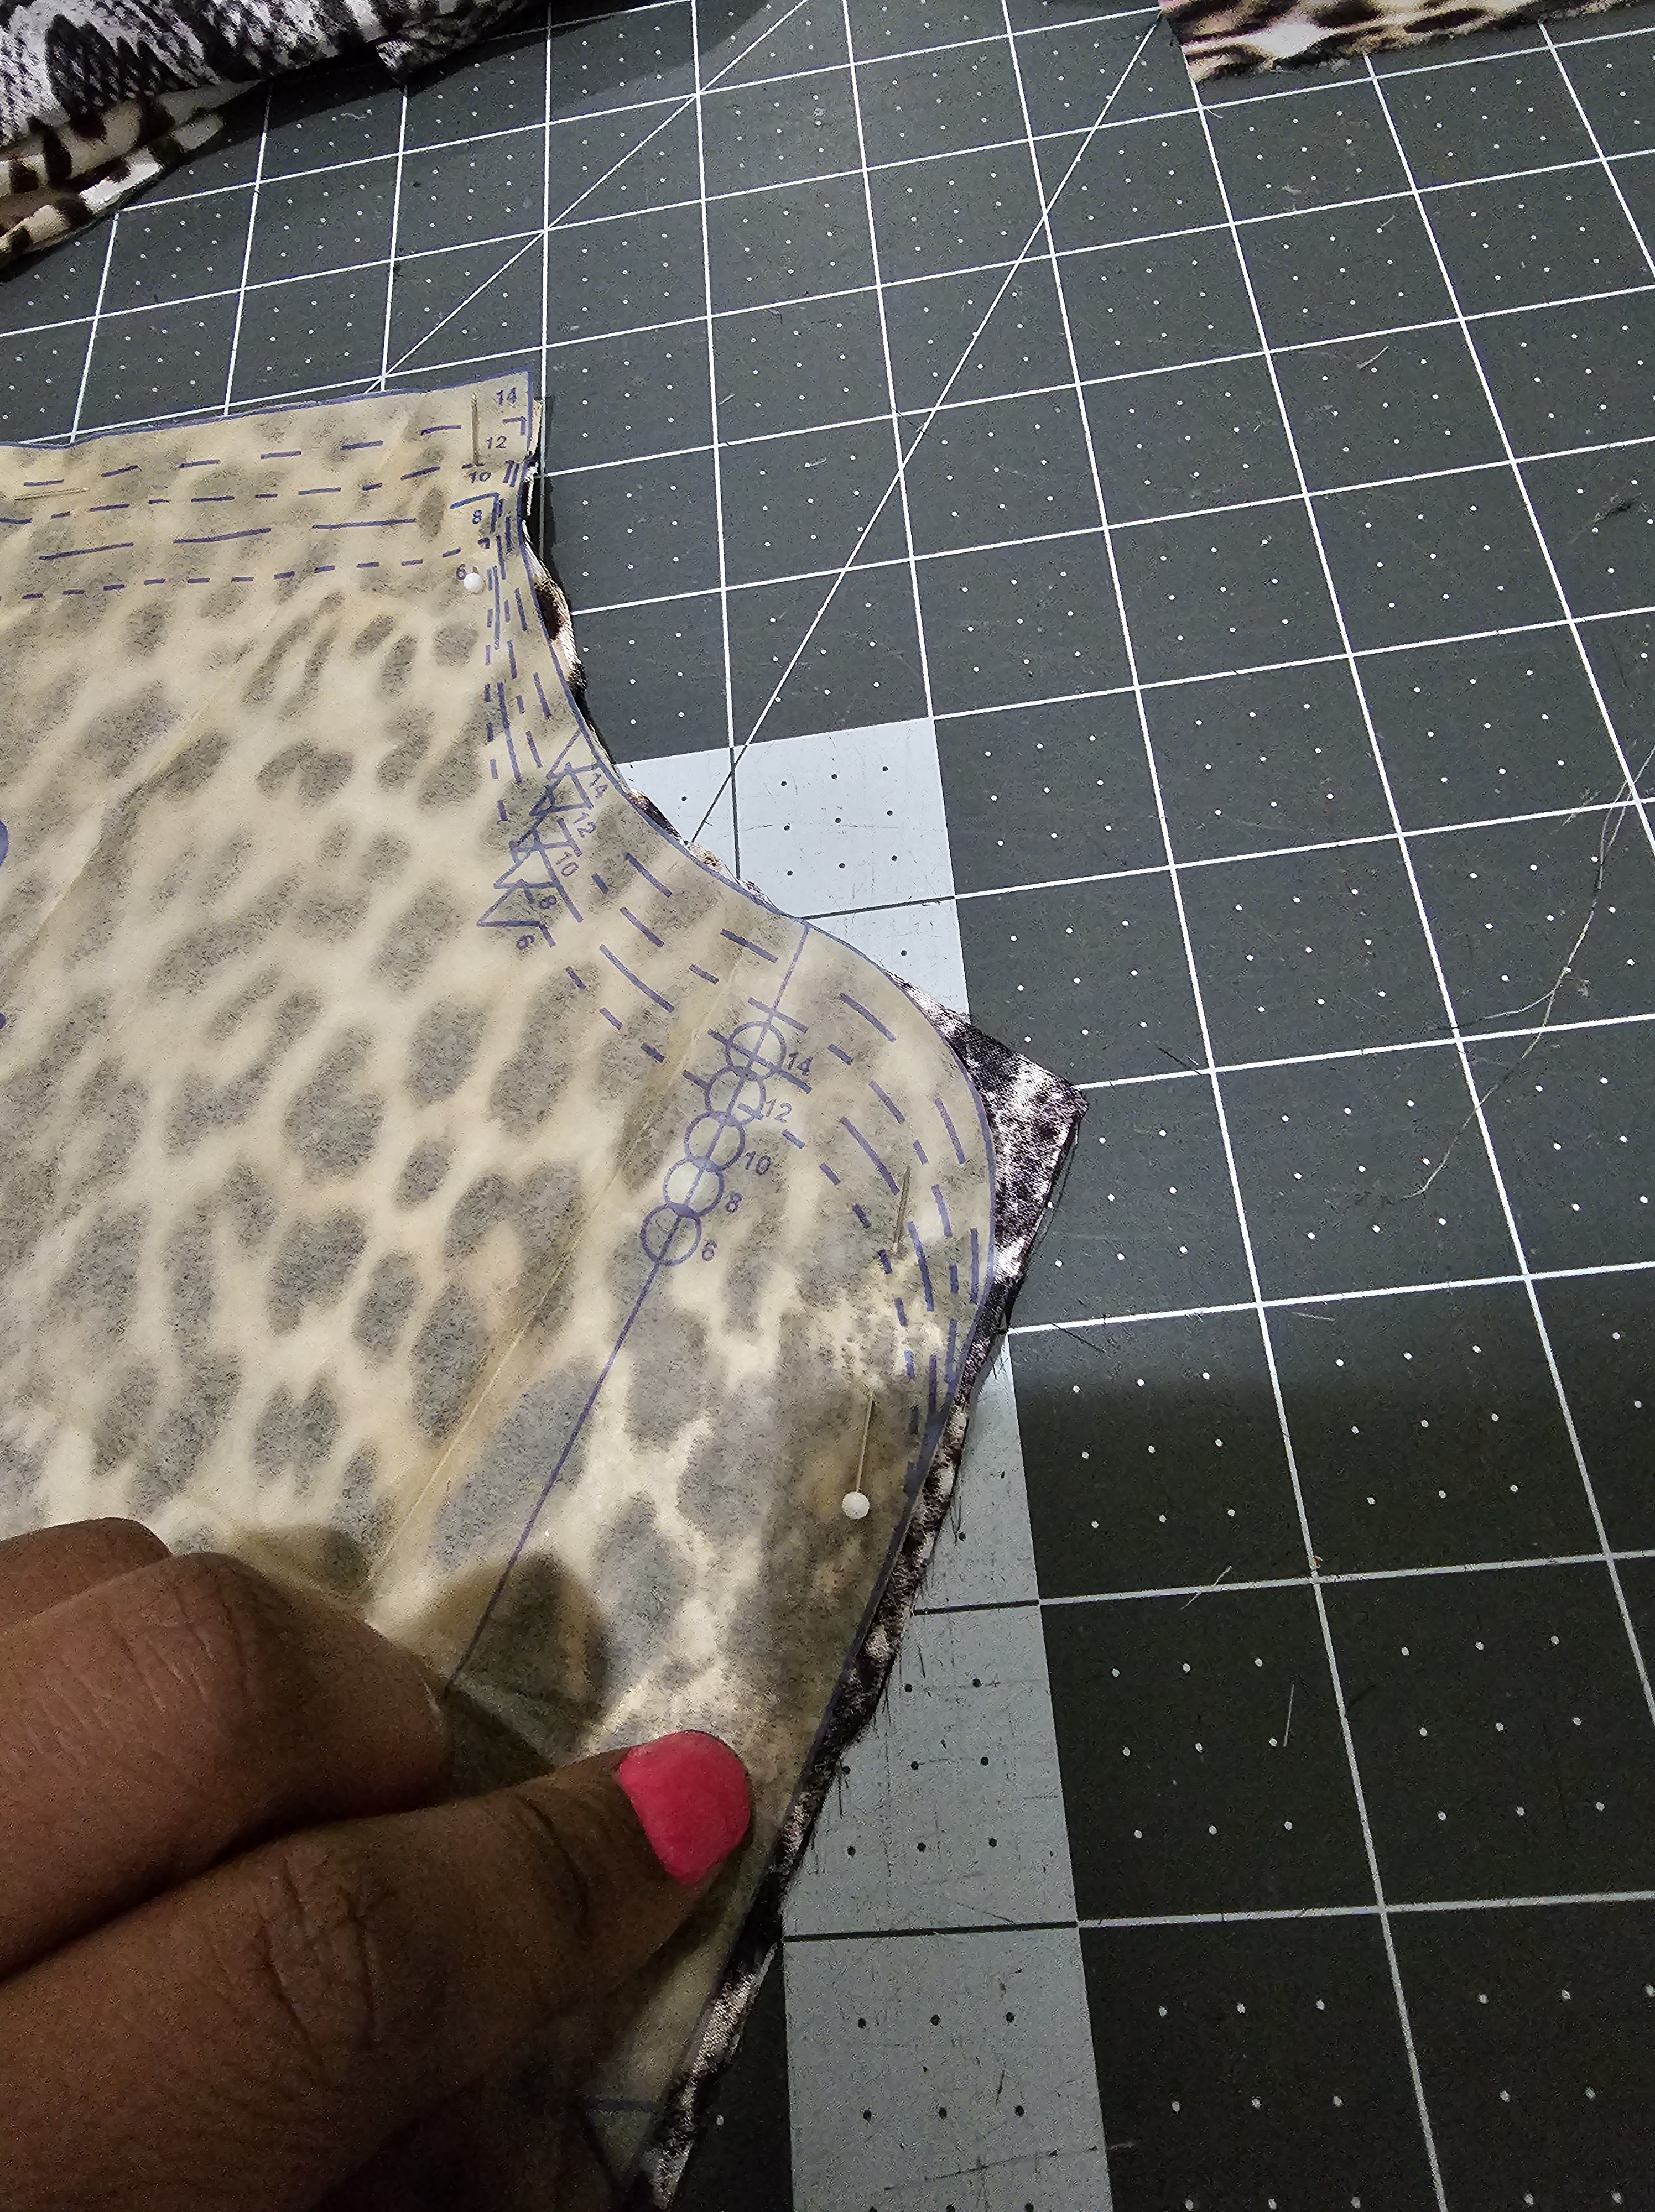
To provide more room in the hips, I sewed my side seams and stopped several inches up from the hem to create vents on both sides of the shirt. I also had to play a game of pattern tetris since I mistakenly cut one of my pieces wrong and had to figure out how to re-cut it while maintaining the multicolor border at the edge of my shirt. That left me with not much to work with to cut out 2 collar pieces on the fold so I had to add seam allowance on the center front of the collar pattern piece and sew the two pieces together down the center to act as one piece. I did that for both the upper and under collar. I also added some bonding tape between my lapel and lapel facing because the lapel wasn’t laying against the facing even after multiple presses with my iron so I needed to bond the two pieces in that area so that my lapel wouldn’t look like it was filled with air.

Future Sewing Plans
Despite the things I mentioned I would change, I really liked the way this top came out. I would like to make it as a pajama set next time and modify the lapel so that it lays naturally as a deeper V-shape while maintaining a slender lapel. Until my next make!
Love,
Christine

Love this top! Great job and thanks for the tips!😻
LikeLiked by 1 person
Thank you so much Vivian!❤️
LikeLike