


It occurred to me recently that I don’t have many casual tops and I kind of rotate the same ones around. I had this idea to make a split back top with this material I had for ages that needed to be put to great use. Creating this shirt was easier than I presumed and it felt good to successfully attach my first set of arms to a garment. Tops I made in the past didn’t require me to make arms, so this test was needed and I must say I am getting the hang of this sewing thing. *Pats self on back*
For the front piece, I simply laid my shirt on the fabric, traced around it creating a seam allowance and then cut.


For the back of the top, I used muslin and the same shirt to create a pattern for the back. I took that pattern and drew a diagonal line from one shoulder to the bottom of the piece and cut. I used the top half to create the pattern of the two sides of the back of the shirt. I didn’t throw away the other half but put it to the side as it was no longer needed for making this top.


To ensure that the back pieces when overlapped would cover my bra strap, I took a measurement in the middle of my back of the distance between where my shirt begins and a little below my bra strap and made sure this same measurement when taken on the back piece pattern was still within the pattern frame especially after it is hemmed.
I cut out the back pattern twice in the fabric to be overlapped (make sure the piece is cut in two different directions other wise you will cut out the same side twice).

Next, I roll hemmed the diagonal sides of the back pieces.


I did make an adjustment to the back pieces by the shoulder and collar as I cut it a bit funny at first when making the pattern.


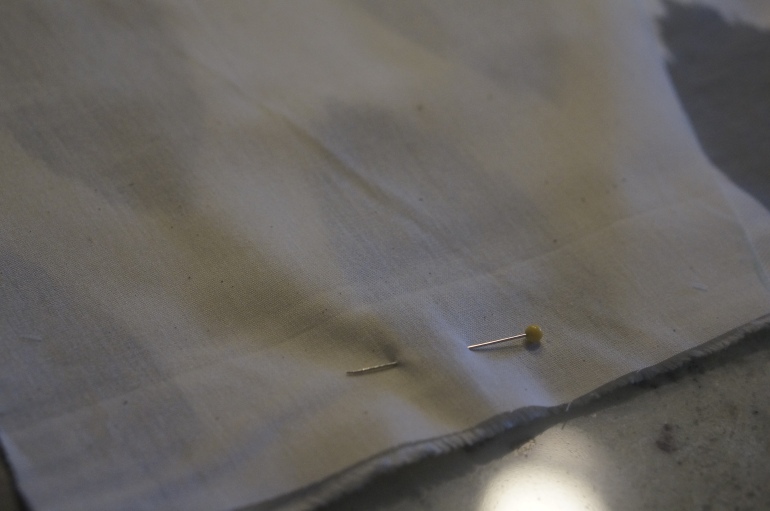
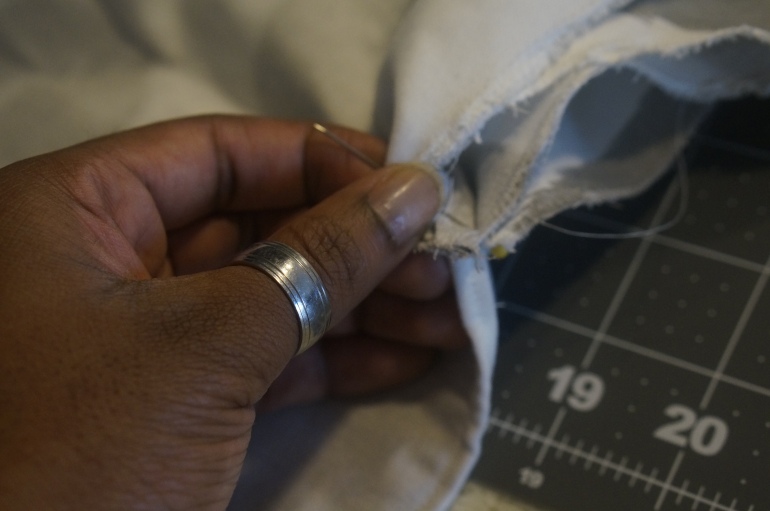
Once I made my adjustments, I pinned them by the neck and laid it right sides together with the front piece. I pinned the back pieces together where they overlapped so they wouldn’t move as I did a rolled hem on the shoulders and sewed them together.


I replaced the sewing pins with safety pins to hold the back in place as I tried it on for a fitting.

Then, I created a pattern for my short sleeves first on muslin and then used that pattern to trace and cut a sleeve onto the fabric. I used this YouTube tutorial to help me out. The S-curve is a bit tricky so I made some minor adjustments and it was fine. However, I noticed my sleeve was a tad bit bigger than the arm hole so it created some unplanned pleats in my sleeves but they are tiny and unnoticeable.


I did a rolled hem to the length of the arm, placed the arm inside the body of the shirt through the arm hole (right sides touching), pinned the arm to the arm hole (start by lining up the seams of the sleeve and shirt) and sewed them together. It was difficult to do a rolled him for this so I tried to finished the edges with a zig-zag stitch but I need work on that so I sewed it normally. I will eventually figure out how to finish it off neater.


After attaching the arms, I rolled up the sleeves to make a cuff and sewed it in place an inch from the bottom of the sleeve.


Lastly, I roll hemmed the collar and the bottom of the shirt then sewed it down. I gave the shirt a nice press and I was done! Whoop, whoop!


I initially sewed down in two places the over lap of the back pieces to keep them in place but they ended up popping off because it restricted my natural movements. It turned out that I didn’t need it because my shirt flowed well without it and still covered my bra straps.


This shirt was fun to make and I loved how it turned out. I want to get better at creating sleeves and finishing off collars as both parts were a bit tricky for me at some points, but I’m still so pleased with how I was able to bring my vision to life. Originally, the fabric was used to make a shift dress that I never finished (and was poorly constructed) so I will probably take that apart to make some matching shorts instead.
It feels so good to have this piece added to my closet! It jumpstarted my mission to get more nice tops into my wardrobe so I can give my regulars a rest. If you end up trying this out, e-mail me or tag me on Instagram (@chrissyogbonna) because I would love to see it and share it!
Until next time, loves!
Love,
Christine

Love it!…youve got talent!
LikeLike
Thanks Sadie!! I am loving the progress!
LikeLike
Great Job Sittle.. I’m gonna start collecting my fabrics now.. cuz I’ll be putting you to WORK!!
LikeLike
Hahaha! Thanks Viv and no problem. I may have a design in mind for you! 😉
LikeLike
Love it!
LikeLiked by 1 person
Thanks sweetie!!
LikeLike