
Hey everyone! This week flew by so quick but I’m glad that I can at least snag a moment to gush about this super cute top I made for my Yellow & Green collection. My absolute first piece! Although I’ve taken my sweet time to share it on the blog, I’ve worn this shirt out so many times since I finished making it and it has been the ultimate go-to for me. I figured after the 3rd or 4th wear it was about time y’all knew more about it (hehe).

Let’s talk fabric first. I bought this fabric while on vacation in Thailand last year. I think it was about $5 or $6 for a pack with two yards and so I bought two packs. It is a 100% cotton, with green leaves and red flower designs with black outlining. With the fabric being super lightweight, it just works so well for me in this Texas heat. The design was actually different on each half of the fabric making it a bit tricky when laying out my pattern pieces but the fabric is too gorgeous. I honestly have to make fabric shopping a thing whenever I travel abroad.
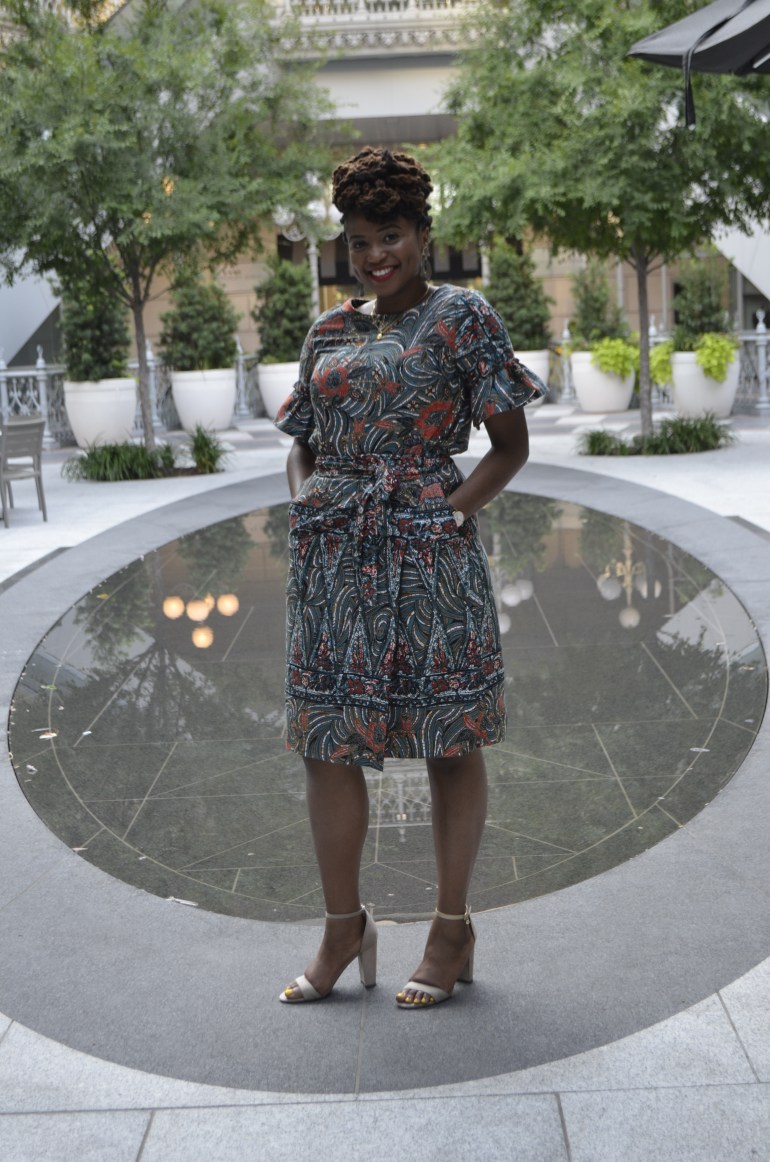

I wanted to go for a practical style that I can get more usage out of so I decided to use Simplicity Pattern 0891 in view C as I felt it was simple with an edge to compliment my fabric beautifully. The pattern was pretty straightforward and simple enough to put together. Adding the ruffle to the bottom of the sleeve can be a bit tricky (for me at least) but the paper bag effect above the ruffle is super cute and I am so proud of myself for achieving it. This pattern also gave me my first experience with neck facing and I am officially a fan of it and how it finished off the neckline of this top.

I have to admit that at one point this shirt was almost a sleeveless shirt. What had happened was….I completed attaching my sleeves and when I went to serge the raw edges of the armhole, my serger sucked up part of the sleeve, creating a huge hole on it. I was so upset and can only blame that on my novice skills with a serger. If it wasn’t for my husband encouraging me to make new sleeves from the itty bitty leftover fabric then it would not have looked like this at all. I’m glad he brought me to my senses because I don’t know if the love for the shirt would have been as strong as it is now. The next time that I added sleeves I made sure I used the armhole facing provided by the pattern (although this view does not require it) just to avoid any serger mishaps.
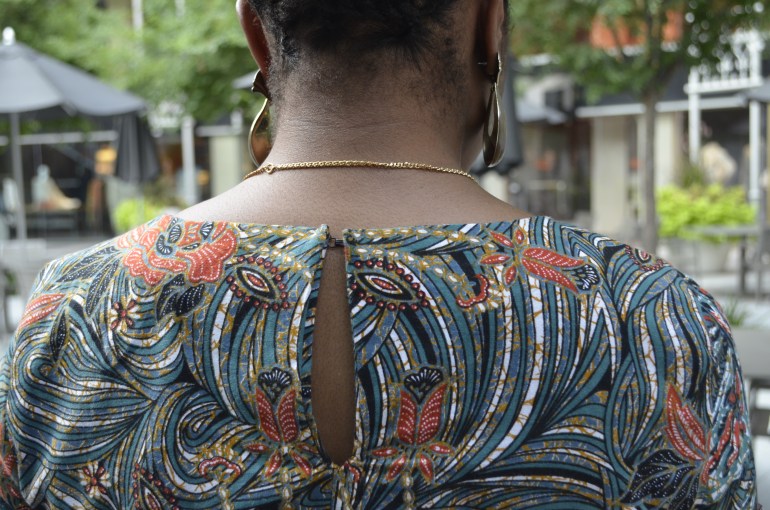
I also used a hook and eye for the back instead of the small elastic cord that the pattern recommends because my sewing machine was not having it and could not sew it down. I have to improve on placement of the hook and eye but I still love it!

So aside from my sleeve hiccup, my experience with this pattern was great and I plan to make the other views at least once. I proceeded to make a matching wrap skirt in the other two yards of my Thailand fabric which I cut at the same time as the shirt. Paired with this top it looks like a cute dress. I love the versatility of separates! Check out my next post on the details of my first skirt and second piece of my Yellow & Green collection. Hope you enjoyed this. Until next time, loves!
Love,
Christine
